Sit-In Kayak Electric Bilge Pump System
If you have owned a sit inside or hybrid kayak you understand how hard it is to drain water out of it. Especially when its on the roof of your truck full from the rain or out on open water taking waves over the bow. An electric bilge pump is a inexpensive answer to the problem. This article focuses on installing an electric kayak bilge pump inside a Jackson Kilroy LT but can be modified to work with any sit inside style kayak.
Materials:
Tools:
Install:
One of the simpler install on the Kilroy the electric bilge pump should only take 15 minutes to install. The bilge pump location I chose is in front of the stern bulkhead. This location is idea because tilting the kayak bow up the water will collect here. Being one of the flattest accessible areas will allow the most water to be pumped from the inside deck.

Remove the strainer from the bottom of the pump. Using the silicone spread it on the flat mounting area of the bracket. Firmly press against the hull push it so it adheres to the bulkhead wall. Let dry overnight.
 Clip pump into housing bracket. Connect tube to outlet of pump. Choose a location for the 3/4″ Thru-Hull fitting. Make sure the location is above where the waterline of the kayak fully loaded would be. It is important the mounting area should be flat but angle away from the kayak. Mark the desired location and drill a 1″ hole.
Measure the distance to your chosen exit location. With a razor blade cut the tubing leaving some slack. Connect the end to the Thru-Hull fitting and tighten down hose clamps snug.

Wiring Electric Bilge Pump:
 Using 2 butt connectors each splice and a 3″ piece of 1/2″ adhesive heat shrink tubing connect the 5′ length of 2 stranded wire to the 12v disconnect. Connect black to black and red to red. Crimp on the butt connectors with a heat gun shrink the ends to the wire. Do the same for the pump leads on the other end of the disconnect and the 12V power plug.
  Add a dab of Dielectric Grease to each connection on the disconnect plug to fight corrosion and keep it maintained for easy removal. Once the wiring is completed you will mount the disconnect and wires out of the way. This is the storage area of the Kilroy. The less things to snag on is best. I used Cable Tie Mounts and wire ties to hang the wire up under the cockpit lip out of the way.
 Battery Connection:
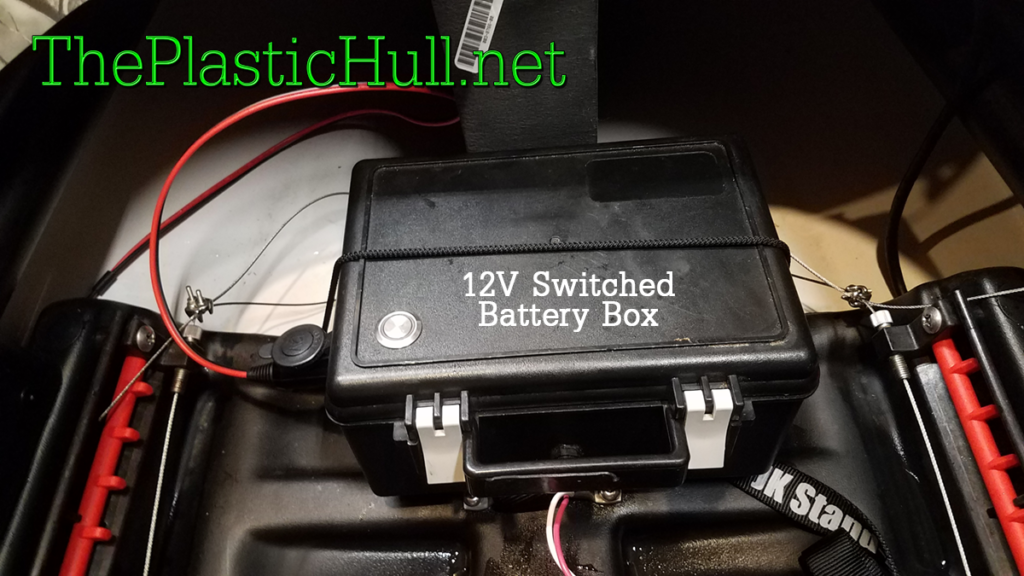
My battery box is set up with a 12V cigarette lighter plug. It is your preference whichever type of connector you would like to connect to the battery! I’m going to see how this works out for now. Maybe add separate switch on the battery box to control the on/off of the cigarette lighter receptacle.


