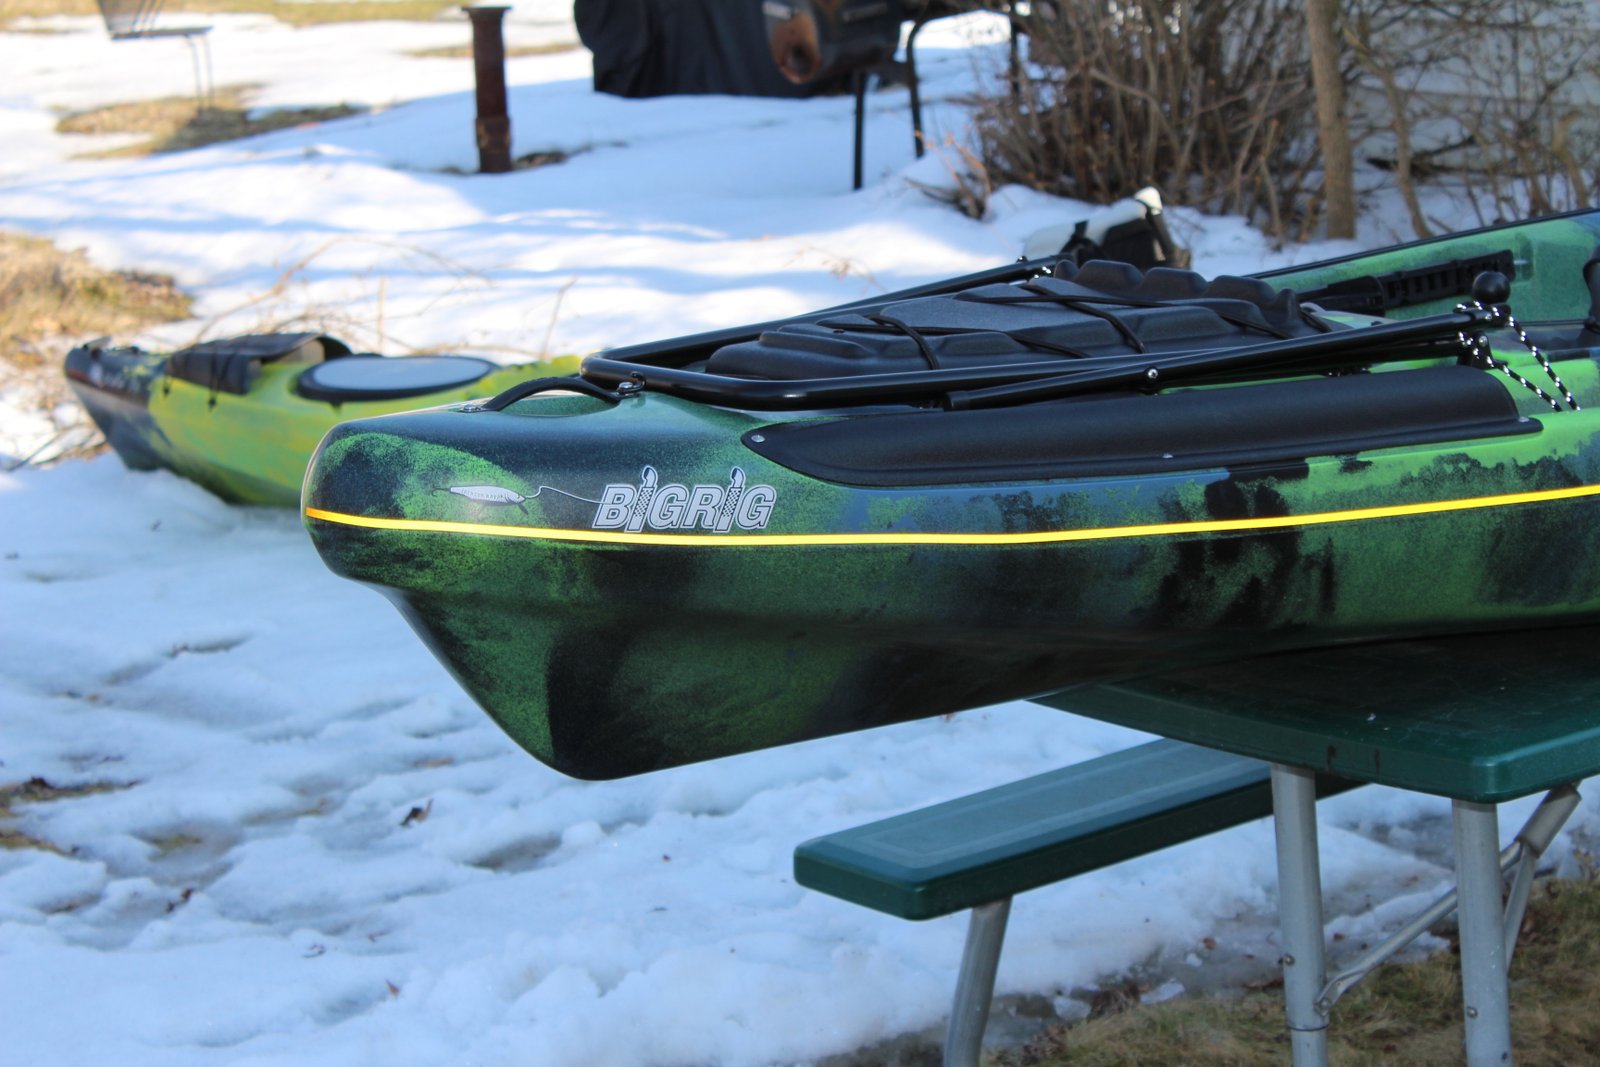
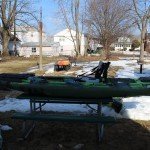
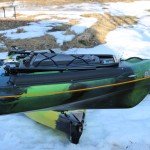
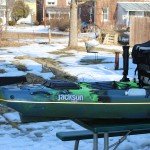
The rudder cable on the left foot brace of my Cuda 14 snapped in Cape May. I decided to purchase new cable and parts to replace both sides.  This repair is standard for all Jackson Kayak Fishing Kayak models with smart rudder packages installed.
This is a tutorial on how to replace the existing rudder cables with new stainless steel aircraft cable.
Parts needed:

2 Rudder Fork End
2 Clevis Pins
2 Rudder Cable Stop Sleeves
2 Aluminum Swedge (cable crimp)
20 feet of Stainless Steel Rudder Cable
Bike Chain Oil
Shrink Wrap Tubing
All of these parts can be acquired from your local kayak shop or online at http://www.thekayakfishingstore.com/c/Kayak-Rudders.html
Step 1:
 To remove the foot track. With a 3/8″ open end wrench and a Philips head screw driver remove the screw behind the foot control track towards the rear of the kayak.
This will allow you to swivel the track upwards and slide the foot pin portion of the foot control track out exposing the cable and the screw it is mounted to. Unscrew where the cable mounts to the track. If the cable is already broken using sheet metal snips or dykes cut the cable so there is no fraying. If not just cut the end metal eye off. Once this is done go to the rudder and slide the cable out of the cable tube. Remove the split ring and the pin holding the existing cable to the rudder. This will detach the existing cable.
Step 2:
Insert the new stainless steel cable into the tubing starting at the foot control. As you slide in the cable inch by inch lube it with a continuous bead of bike chain oil. This will help the cable slide within the tube, keep water out, and hopefully prolong the beginning of any type of corrosion. Once it passes out of the tube at the stern stop feeding after 18″ is exposed.
Step 3:
 You will now pass the cable through the opening in the rudder fork then put the cable through the rudder cable stop bullet sleeve. Let about an inch protrude through the sleeve and crimp. If you do not have the aircraft cable stop bullet crimp tool you can use a hammer and a heavy piece of steel to smash it on there with. Then you may cut off the remaining cable end and using the new clevis pin attach to the rudder.
Repeat steps 1 – 3 for the opposite side.
Step 4:
Attaching the cables to the foot control. Now this is the area where you want to center the rudder and adjust accordingly so everything is perfectly centered. Using the existing screw and nut on the foot brace add 2 washers to hold the cable loop. Slide on the swedge and a 3 inch piece of heat shrunk tubing on the steering cable. Set the loop of the new cable between the washers and and tighten the nut. The washers will compress the cable and lock it into place. Crimp the swedge with flat pliers locking the cable into place close to the connection of the foot brace. Once complete slide the heat shrink tubing over the cable and clip the tag end back leaving an inch of cable. Now use a heat gun the shrink the tubing over the swedge, the tag end, and the leading end of the cable to protect it from hanging up on anything.
Video to follow soon.