Opening Day Kayak Fishing 2016
Finally hit the water on the kayak after weeks healing from an unfortunate back injury. Learning this lesson the hard way always remember when lifting your kayak to lift it correctly. Always lift with your legs not your back. Here is the story of my opening day kayak fishing 2016!
 By this time the Striped Bass bite has been on for about 2 and a half weeks. Many resident fish have been caught and migratory fish have started to become prevalent. The water temps still cold ranging from 44 degrees up to 54 degrees in Raritan Bay have seemed to push the fish into shallower water where the bait seems to be hanging.
 Arriving early just before sunrise the air was warmer that typical for this time of year. The day was a test on the new steering setup for the Torqeedo and a good day to catch the first striped bass of my season. Everyone plans to do well fishing on opening day. For me 2016 started off with a few issues. The first was my GoPro with the extended battery tether add on. Would not turn on. After probably 10 minutes of tinkering with it finally noticing the plug on the inside was not completely locked in. The second issue was my newly steering cable setup upon leaving shore the foot brace pedals folded right over there was 6″ of slack on the one side. Dumbfounded back on shore luckily using adjustable cable stops I was able to field adjust the length. Back out on the water again same thing happened on the opposite side. Putting two and two together i figured after running the new tubing and cable the day prior failing to pull the slack tubing out from inside the hull resulted in an extra 6″ on both sides. Finally after adjusting the cables its the sun is way up. The tide was still pretty much slack so trolling around looking for good marks on the fish finder was the plan. Wouldn’t you know an hour into fishing the fully charged SLA battery is DEAD! wow

 It was a tough morning fishing so I took some time out and with my camera shot a few photos of the awesome ship graveyard. Over 30 ships lie there for one time scrap metal that ended up where it lay corroding and rotting into the Arthur Kill between New Jersey and Staten Island NY. From what i understand the adjacent scrap metal yard purchased the obsolete ships in hope to disassemble them for the steel and scrap metal. It is said the workers couldn’t keep up with the amounts of ships that came in and eventually was no longer worth it economically to strip these vessels. Plus the site became a dumping ground for smaller boat owners to rid themselves of their old boats.
 The graveyard of ships was much different than I had remembered it previously visiting the location six years prior. Apparently Hurricane Sandy did a job speeding up the decomposition of these scuttled ships with its 80 mph sustained wind and 16 foot storm surge that barreled up the Arthur Kill from Raritan Bay. It is an eerie place but also is fascinating due to how time seems to have stopped here. A great day to have my camera on board! I took a few snap shots of a few of the more intact ships.
 Although a pretty dangerous area I would recommend every experienced kayak paddler to check it out! It is an experience that has to be witnessed in person.
The launch is on the New Jersey Side of the Kill located in Seawarren at Captain Carlsen Park to the left of the boat ramp is a beach typically used for kayak drop in. Its a pretty simple drop in and can be done alone.
After snapping a few photos and taking a few videos with my GoPro it was back to fishing. The tide was now going out and the current was strong. There was a dozen or so boats also trolling. I saw a boat pick up a bass on a 12″ soft shad. By this time my battery for the Lowrance Elite 5 Chirp had died and i was fishing blind. I tried to hold in the areas that marked fish earlier.
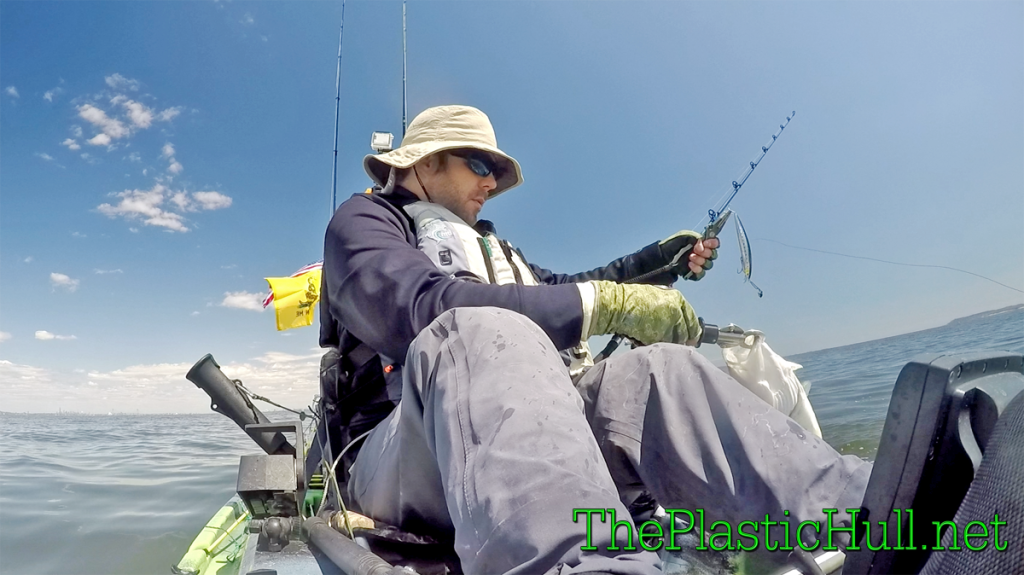
 Giving up on trolling made the decision to fish pilings. Using a 4″ Crystal Minnow casting and retrieving. Finally a strike but the fish missed the bait leaving a large swirl in its wake. The wind was now very strong blowing out of the North which was with the tide making it a really fast drift. After drifting about a mile fishing the pilings i decided to go back to trolling one last pass. Using the Torqeedo became key. The tide was so strong paddling would have not helped at all.
Finally a hit fish on! The line screaming off grabbing the rod from the RAM Mount 2008 Rod Holder. The kayak sleigh ride is on! Fighting the fish for a good 10 minutes and landing a 28.5″ Striper first of the season on the Opening Day first trip out! Very happy to not be skunked and great to have a tight line!


