This How To article focuses on a Hybrid style Sit Inside Kayak Torqeedo 403 install. A sit inside kayak creates more challenges for running steering cables and the use of different hardware types such as neoprene washers for thru hull hardware waterproofing. Additionally sit inside kayaks use bulkheads for creating dry storage hatches. Unlike most sit on top kayaks from Jackson Kayak Sit in kayaks like the Kilroy are not rudder ready. Therefore must be fitted for steering.
 This install was completed using a 2017 Jackson Kayak Kilroy LT a Hybrid style sit in. The Kilroy LT is manufactured using the thermoform process. This manufacturing process creates a thinner lightweight hull by utilizing acrylic coated ABS plastic material. It results in a kayak 1/3 less weight of its rotomolded cousin.
Tools Needed:
- Screwdrivers
- Battery Operated Drill
- Dremel
- Pein Hammer
- Needlenose Pliers
- Flat Pliers
- Diagonal Wire Cutters
- Heat Gun
- Bic Lighter
- Drill Bits
- 3/8″ Wrench & 7/8″ Speed Wrenches
- Rotary File
- Center Punch
- Utility Knife
- Fishing Line
- Scribe
- Small Pipe Cutter
- Pop Rivet Gun
Materials & Products Used:
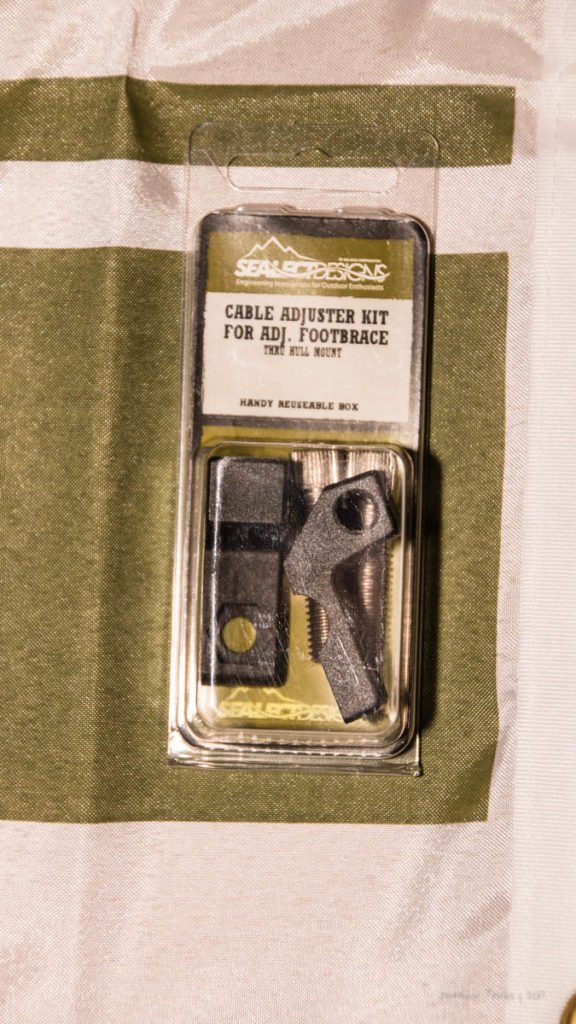
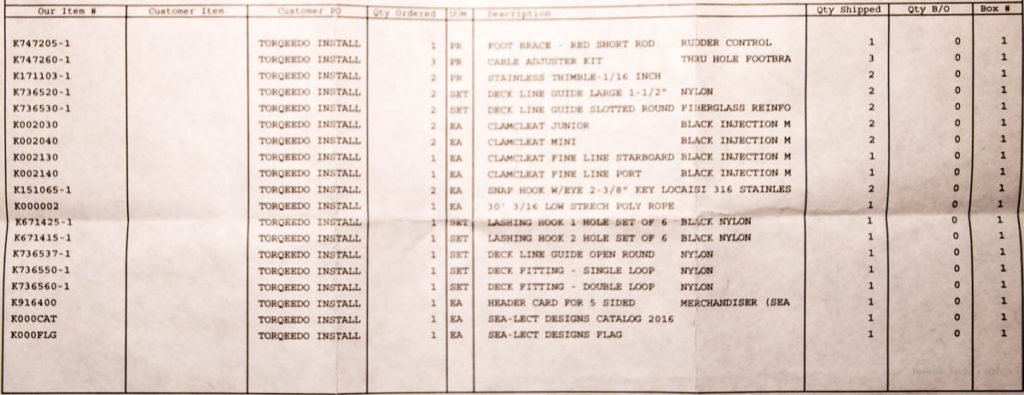
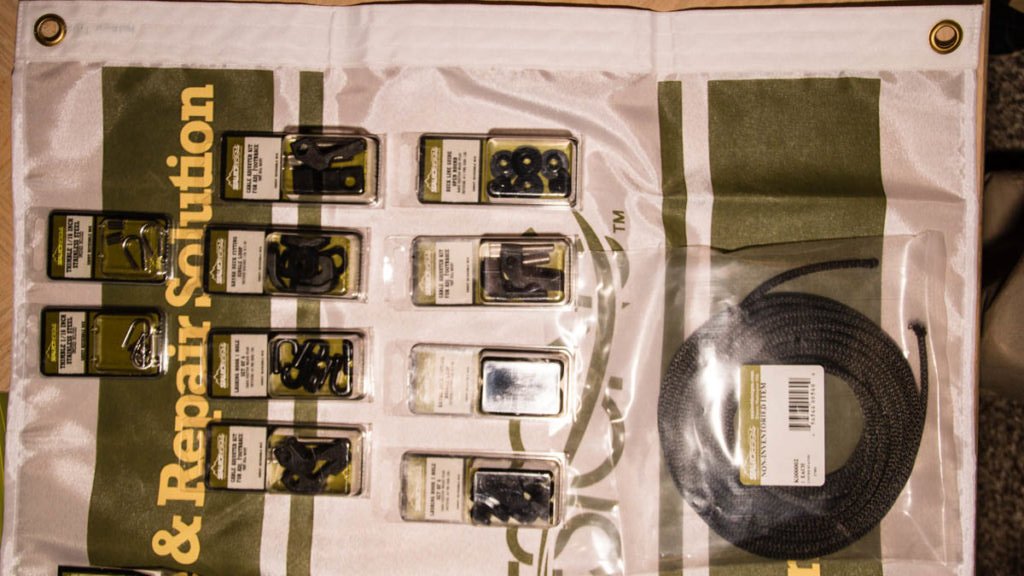
Includes 1/16″ Steering Cable, Steering Cable Tubing and Swadge w/ Thimbles
- Marine Grade Heat Shrink Tubing
- Trim Line Tubing
Replacing the stock footbraces with Sealect Design Tru-Course Footbraces for steering is pretty simple. The Jackson Kayak Kilroy LT has a sub flooring system or deck installed. The Stock footbraces were bolted to the deck prior to riveting to the hull. There are 2 options here.
Option 1:
Is a very time consuming option requires to drill out all 12 rivets that mount the deck to the hull. Remove the deck and replace the foot braces. Then re-insert the deck and rivet 12 and hope it holds in place as well as from the factory. (I did not do this!)
Option 2:
Simple but precise. Rout out 4 access holes in the top of the deck at each bolt end. Start by center punching and drilling a pilot hole. Your local hardware store should carry grommet caps. I used 7/8″ caps to plug the access holes. Place the cap on the area of the future access hole. Using a scribe mark the limits of the cap. Using a Dremel with rotary file rout out to the inscribed limits. Placing the cap make round until cap fits snugly.
Remove stock foot braces with 3/8″ open end wrench on nut and Philips head screwdriver or drill driver. Sealect Designs foot brace remove neoprene washer. Screw will go from inside to outside. Place 7/8″ nut and washer on end and tighten with drill driver. Place caps in access holes.
Steering Cable Tubing:
 The Kilroy LT install is unique in this situation. Taking advantage of the deck hiding and threading the cable tubing is much easier. On a normal SOT you would have to run it under the cockpit edge.
Starting at the foot braces drill a hole in the support directly behind. Run tubing through towards rear. Center punch and drill hole at corners of deck at the rear. Pass tubing trough these holes. Run up and punch a hole on both sides of the foam bulkhead at the top using a drill bit. Push through tubes into dry storage hatch.
Torqeedo 403 Parts:
We will use the majority of the parts included in the Torqeedo Kit. Actually the only parts we will not need are the screw dowels. These are included for kayaks with no reach access to the inside at the ball location. The motor is partially assembled but you will need to remove the steering bracket and the clamp ring reversing them so the steering bracket is on the bottom and the clamp ring is on the top of the pylon. Prior to resembling find the ball placement. Without the pylon the Horizontal shaft, and joint with the pivoting is much lighter and can be lined up easily.
List of Torqeedo 403 Kit Parts:
- Pylon
- Mounting Ball
- Rubber Plate
- Support Plate
- Horizontal Shaft
- Clamp Base
- Clamp Bracket
- Rubber Pad
- Rubber Spacer
- Metal hook clips
- Rope

Torqeedo 403 Install:
Mounting Ball:
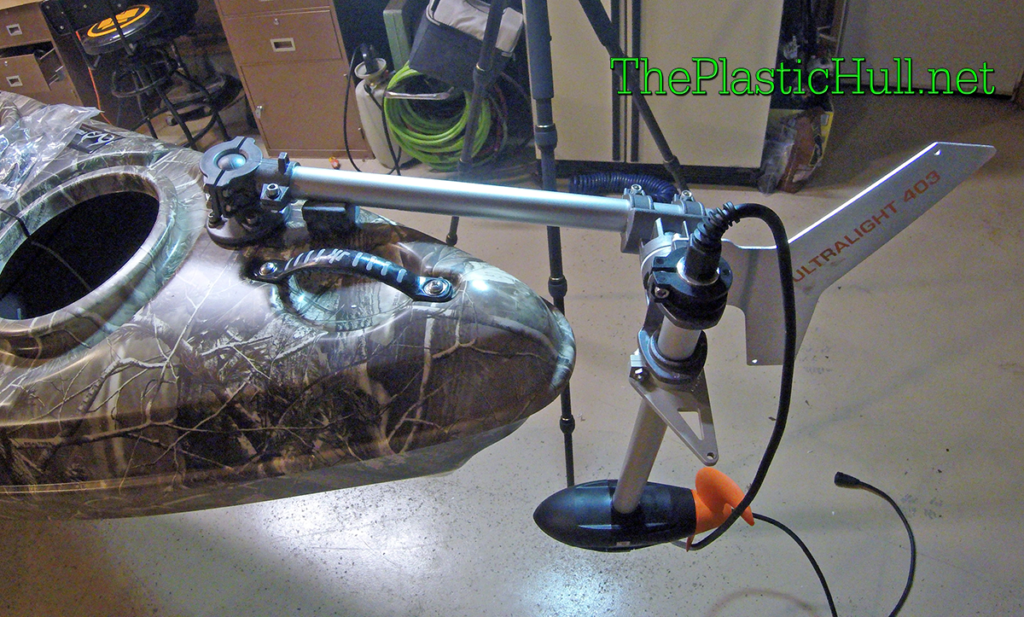
 Installation of the Torqeedo 403 is fairly simple. It is a ball mounted system so there really is no way to make a mistake except placing the ball too far away. The installation location of the mounting ball can vary on the style of kayak but should be no more than 12″ from the stern of the kayak. Finding the location is simple. From the kit the ball is already loosely locked into the clamp along with the horizontal boom.
 Place the ball where it rests the flattest on the right side of the stern. The position will be within 12″ of the transom or the horizontal shaft will be too short. Disassemble the pylon from the pivoting joint. This will make it lighter for ease of aligning. Connect the clamp base & bracket to the ball but do not tighten. Connect the joint to the horizontal shaft. Align where the motor would be centered and snug down the clamp bracket on the ball. Check the location by sliding the pylon into the pivot. Once located mark the spot with a pencil sharpie or a scribe around the edge of the ball flange. Remove the ball from the clamp base & bracket. Place the ball back within the line you have marked. Make sure the support plate is unobstructed inside the kayak from hardware tubing and sharp bends of the hull. Drill the first hole. Insert a Grommet and bolt. Snug down. Drill the next hole on the opposite side. And follow these same steps for the remaining 2 holes.
Re-assemble the pylon and mark the boom where the motor pivot is clamped. Any movement in this area will result in different lengths of steering cabling.
Trim Line Up/Dn & Tubing:
Being right handed the trim line was to be installed in the cockpit on the right side. If you are left-handed I would recommend installing the trim line on your dominant side. It takes a little muscle to pivot the motor. Running tubing will allow the trim up/dn line to slide freely through the kayak deck to the control position at the seat.
 Drill a 1/4″ hole at the stern where the line will penetrate the hull. Run the tubing through, it should fit snug. Using a screw driver punch a hole through the top of the foam bulkhead on the corresponding side of your chosen location. Run tubing through and behind the deck supports up to the steering foot brace location. Using a Small drill bit drill pilot holes along edge of deck. Using a cable tie down and a screw fasten the tubing flush to the deck. In addition clamp two more locations, one being at where the end will be 3″ before the first deck support. This is the location where the Sealect Designs clam JR cleat will be installed.
 Using fishing line or the wire rope for this install run it through the tubing and then tape securely the rope. Thread through the tubing and then tying the rope off to the clip provided in the Torqeedo kit. This is to be attached to the top of the swivel fin.
 The clam cleat will lock the trim line position of the motor in the upswing. Install the clam cleat with the teeth facing forward. Drill out the holes in the clam cleat slightly to accept rivets. Drill one hole in Kilroy deck support and rivet in. Be sure the cleat is level and drill the second hole. Now pop rivet and to finish run trim line through hole and tie off the line with the Clam Cleat stop ball.
Trim Lock Line:
 Next to install the trim lock line. The overall function of the trim lock line is to lock the motor into the down position. This makes reverse possible preventing the motor from flying up out of the water. However on this install trim lock line has to be installed on the right side also. Although its preferred to run all lines inside the kayak this one seemed to work better on the top. Using another metal clip like the one for the trim line 2 deck pads and a clam cleat tie to the end of the rope. Clip it to the bottom of the swivel fin quick link. Now you will run this on top of the kayak align to the cockpit location. Using the Sealect Designs Deck pads and a clam cleat.
Steering cables:
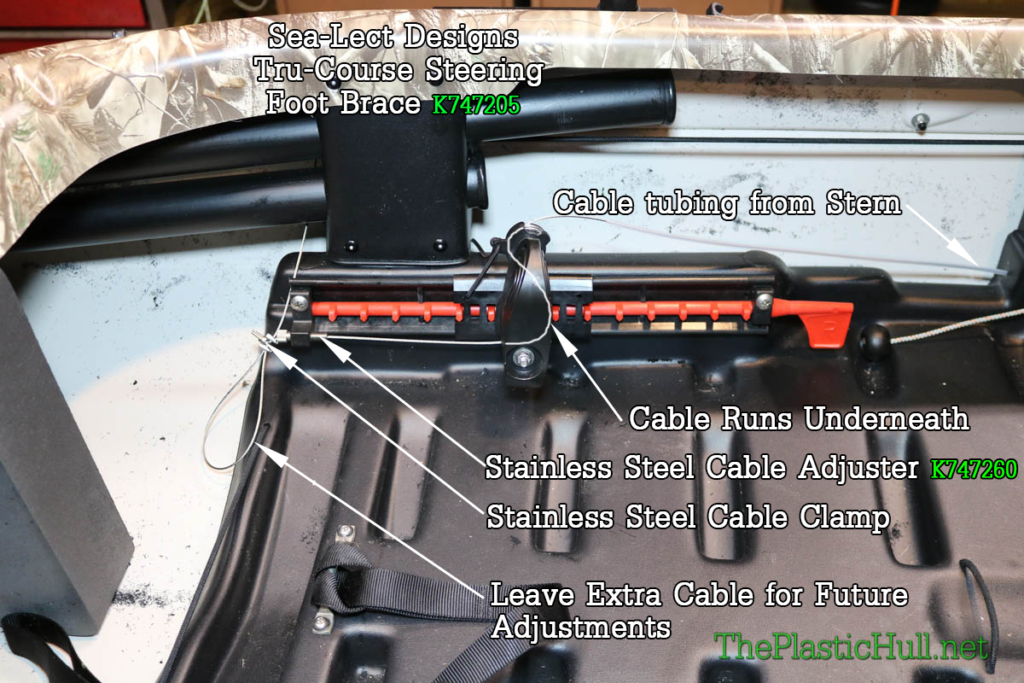 Using 1/16″ stainless wire rope will allow foot steering control from the Sealect Designs Trucourse Footbrace to the Torqeedo Steering Bracket. Using bike chain lubricant slide the cable into the tubing from the stern to the bow. Keep adding lubricant on every inch as it slides into the tubing. This will allow the cable to slide freely and keep water out of the tubing.
At the foot braces using the included small hex keys slide through the hole in the pedal to keep them aligned at 90 degrees. Run the cable from the stern through the top metal guide down through the pedal and out the bottom hole then through the cable adjuster. Using the cable clamps make a loop in the end of the cable and tighten.
 At the Stern, using the thimble & swadge kit along with a 3/16 carabiner add a 1.5″ piece of marine grade heat shrink tubing on the protruding Cable end. Slide 2 swadges on the cable and snap the thimble over the carabiner eye. Connect the carabiner to the steering bracket on the Torqeedo. Loop the cable around and back through both swadges. Pull tight keeping the motor in the straight steering position and crimp. Clip off the remaining cable end then slide over the heat shrink tubing and using a heat gun shrink over the swadges.
Torqeedo Throttle mounting VIA Ram Mount:
 Using a 1″ Ram Ball will allow you to mount your Torqeedo Throttle Control in many ways. On the back of the controller there are two threaded holes that line up with the diamond backed ball. Using Metric M4-0.7 x 20mm stainless steel screws which can be found at your local hardware store.
Disclaimer:
Installing hardware may cause damage and/or void manufacturer warranties. ThePlasticHull.net its authors or any other source of information on this website is in no way responsible for your actions nor any type issues or damage that may occur. The information provided on this website is a free reference guide only. The authors of all information, sponsors and the owners of the website that host this information are not liable for any problems or issues that arise from the use of this information. Users of this information hereby acknowledge that all use of this information is done by their own free will, at their own sole risk, understanding that destruction of property, injury, or death could occur.


