Wrap Up 5th Annual CBKA Tournament September 10th 2016
Another Chesapeake Bay Fishing Tournament in the books. For me it was great to be out on the water with my kayak after two and a half months due to relocating and my truck having mechanical issues. Living now in South Eastern Delaware it was a pleasure to have half the driving distance to the venue on Kent Island Maryland. This was my third year to be present at this beautiful venue.
Preparation:
 It was the first kayak haul for my new 2016 F150. I took the Friday off from work which worked out as I was able to get my new truck bed cap installed at the ARE Dealer, Trick Trucks in Millsboro DE. Previously had removed the Thule rack in anticipation of installing it on the new cap asap. It took me around an hour to drill and bolt on the rack to my new cap. It was now pretty set for kayak hauling. I loaded up and let around 3:50 PM to arrive at the venue around 6:00 PM.
Arrival:
Upon my arrival meeting up with Joe Hostler. Checked in and received my captains bag stocked with goodies. Then awaited the captains meeting. After sitting trough that went to the field to set up my tent. The day was a scorcher at 95 degrees and high humidity. As the sun set during the potluck dinner which I provided some tuna mac with crab salad. All of the potluck food brought by others was excellent as always. Joe’s mac salad was amazing along with various other items such as jalapeno poppers, chicken wings, and a crab mac & cheese dish.
As the evening set in the temperature leveled at about 86 degrees as the humidity shot through the roof. The conditions were not the best to be camping but made the best of it. Sat in the truck air conditioning for a bit. Finally going to the tent around 12:00 am. Some of the guys were still up hanging out and apparently were until around 3 am.
Tournament Day:
 The morning came fast. Sounds of alarms and others waking from camp. It was still dark but not for long. I went over and met Joe at his cabin grabbed some coffee and rigged up a few rods. We were probably the last to launch but it worked out because driving to the drop in was simple. Rather than loading up the kayaks and walking then there on kayak carts. Hitting the water we immediately started fishing for bait. In these areas Spot are an excellent source of bass bait. Spot can be gathered using a small 1/0 Octopus hook a small bit of weight and a fish bite or small piece of blood worm.
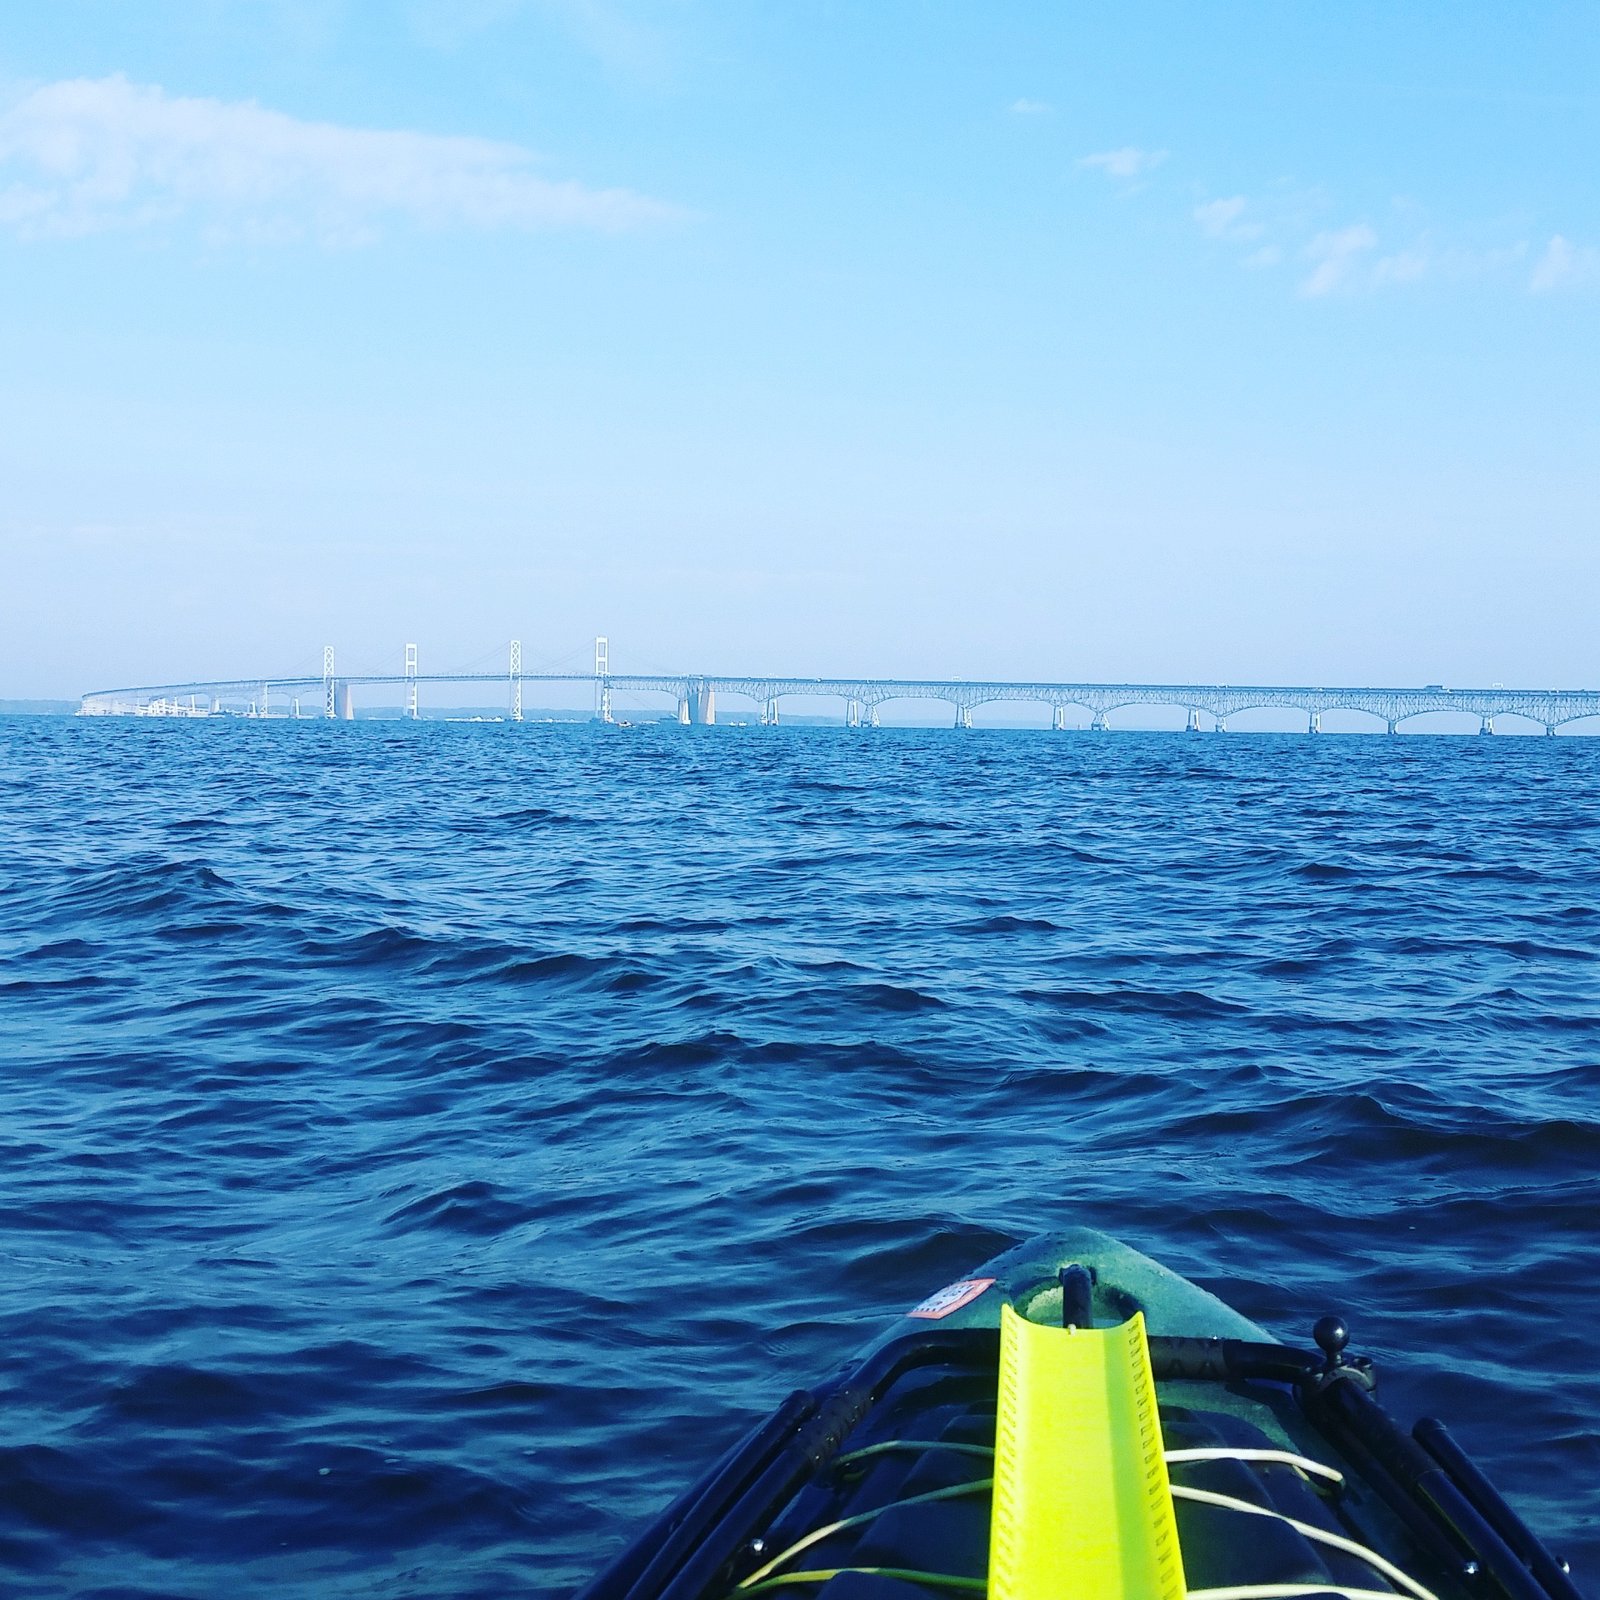
 After about a dozen or so spot and catching small white perch at the same time we trolled over to the Chesapeake Bay Bridge in search of solid fish marks on the chart plotter. By this time the wind had kicked up from the southeast and it was rocking and rolling out there. Live lining for bass was non eventful after a few hours. The stripers just didn’t seem to cooperate on the live bait.
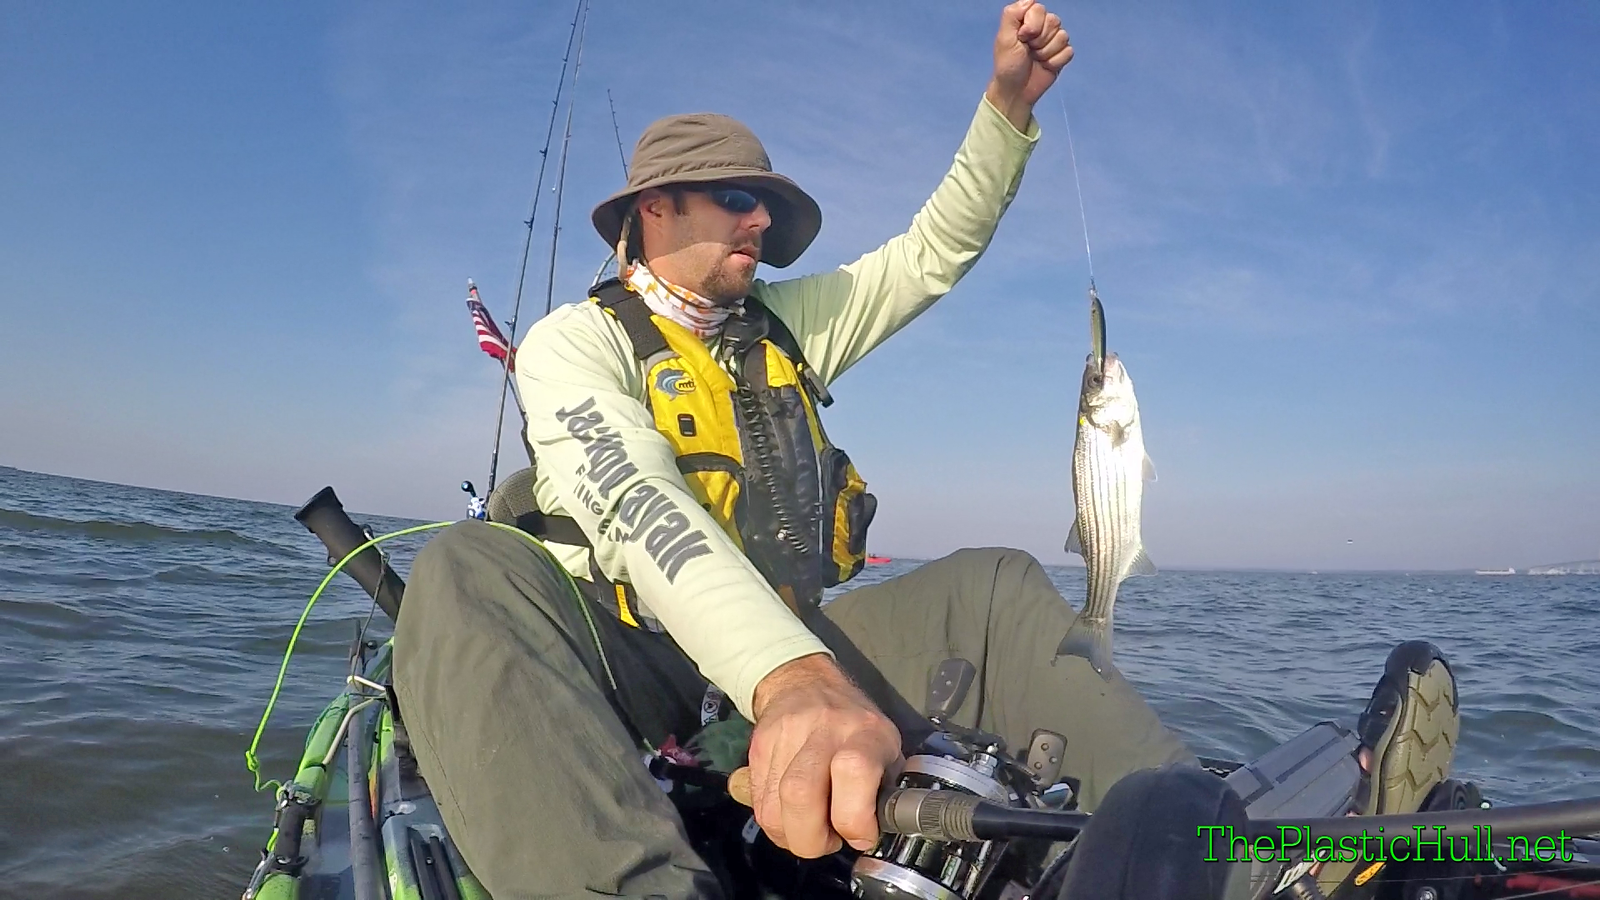
Attempted trolling for hours catching one small striper around 17″. We went back at catching perch with an attempt to place in that category but could only manage fish up to 8″. We fished the entire time and missed the weigh in but were sure we had nothing that qualified for placing in the tournament anyway. It was a great day to be out on the water doing what I love the most.
 The awards ceremony commenced and as always is very well put together. A representative from the make a wish foundation was present and spoke a little bit about the charity followed by a tear jerking video of a boys wish to take a trip on a US aircraft carrier. They really do amazing things for these kids whom unfortunately endure a lot of pain and suffering. This is what we do it for!
If you have never attended the Chesapeake Bay Kayak Anglers tournament come next year and check it out. Hang with a bunch of friendly kayak anglers.


